A Claude skill that turns rough renders into numbered edit prompts. The architecture never moves.
Grey model
Redlined
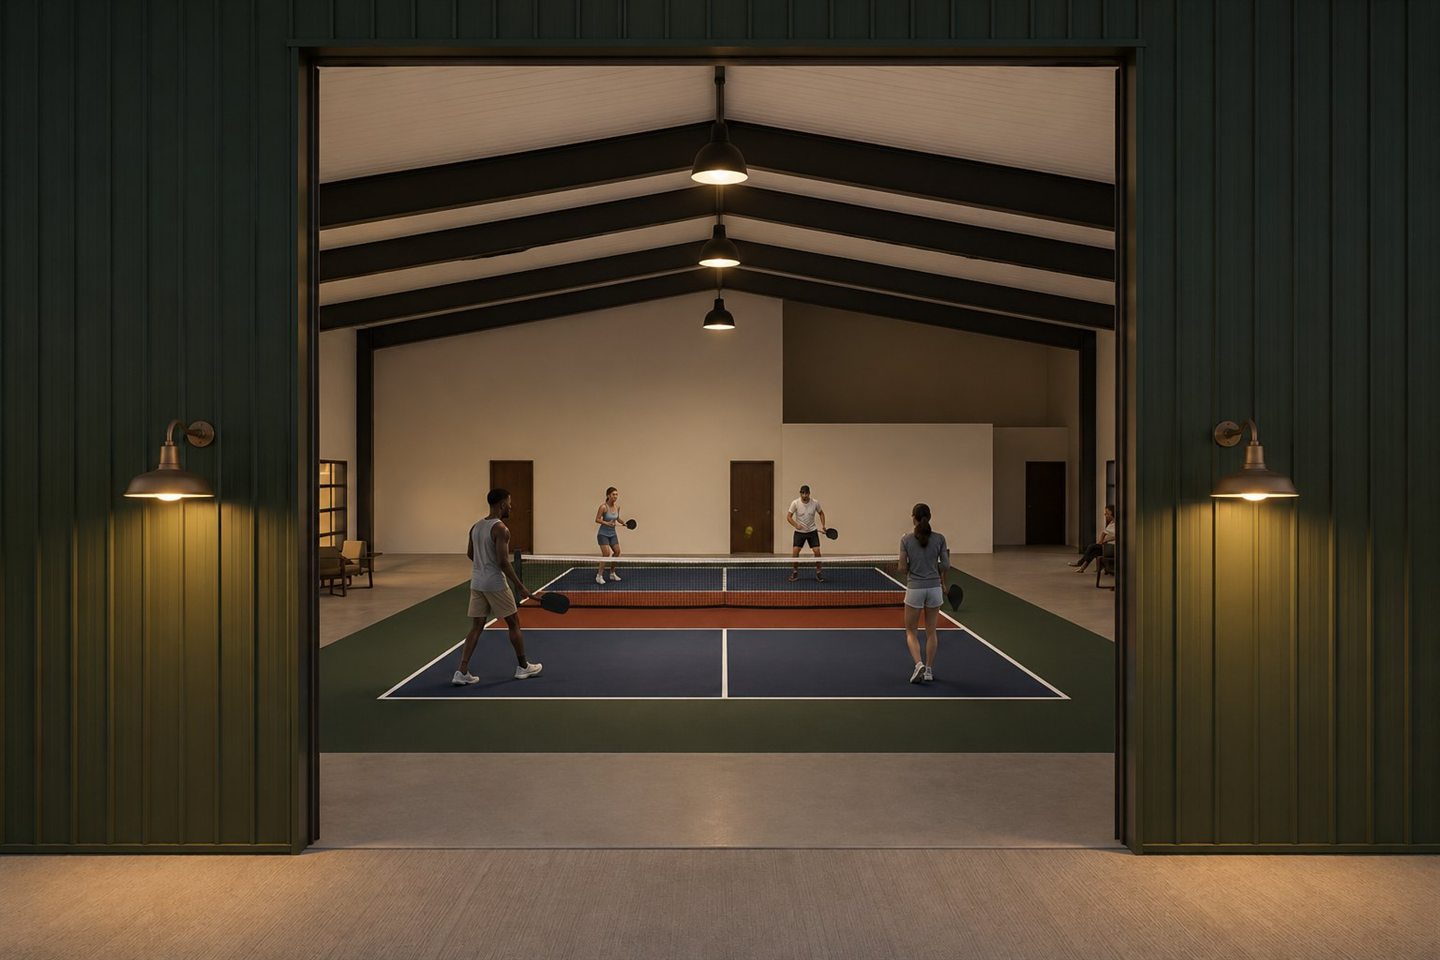
Drag to compare. One prompt, five numbered changes, same camera.
Run AI post on a broken render and you get a polished broken render. So the first thing REDLINE does is read your frames and sort every problem it finds into three piles. Only one of them is worth prompting.
Materials, planting, entourage, sky, reflections, light pooling, contact shadows. A model can add this.
Duplicate geometry, a colour cast, one stray object. Needs a mask in Photoshop, not a prompt.
Missing geometry, wrong camera, a frame rendered with different settings than the set. Go back to Rhino. No model can supply it.
Claude reads every frame and names what is actually there, then asks the things the images cannot answer. Region, season, program, real material spec.
One named material per surface class. This is what makes fourteen frames read as one building instead of fourteen buildings.
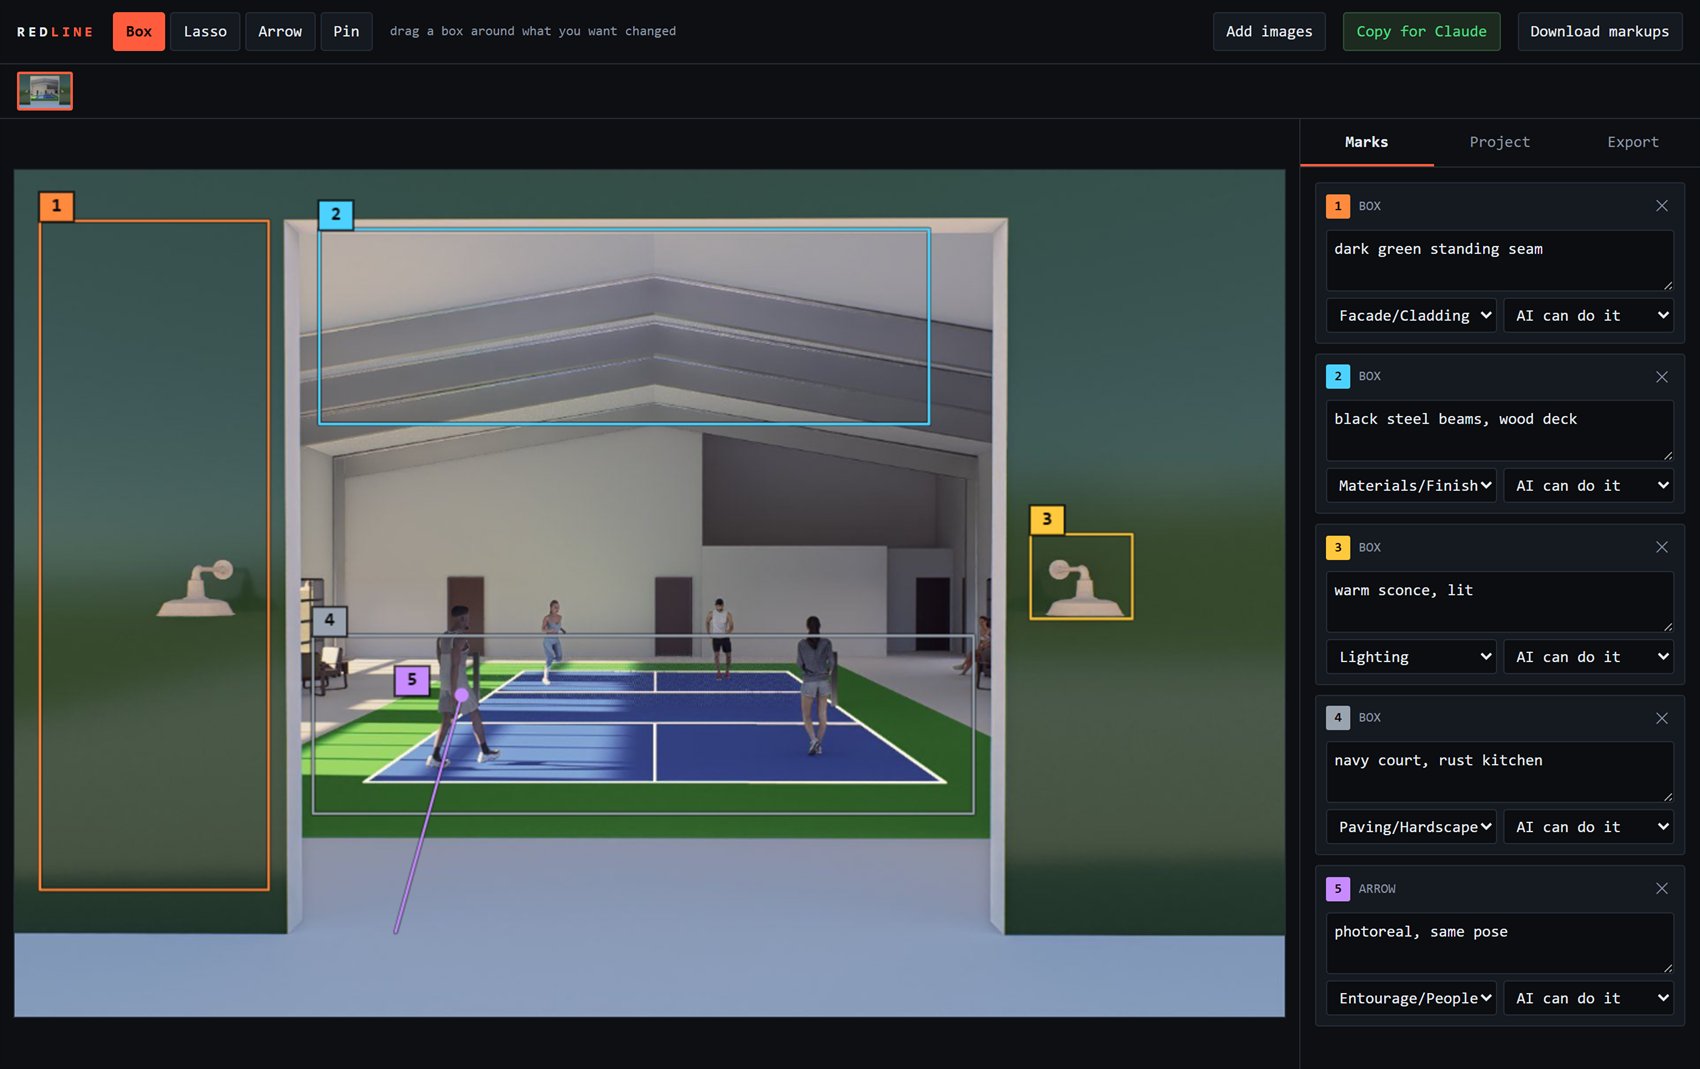
Box, lasso, arrow or pin the things you want changed. A few words each. The tool numbers them and hands the summary back to Claude.
One image, one prompt, every change numbered, and a preserve clause on all of them. Runs in ChatGPT or Google AI Studio against your raw render.
A single HTML file. Open it and drop your renders in. Nothing uploads, nothing installs, and there is no account. Your images never leave the browser tab.
Write a few words per mark, not paragraphs. "Walnut doors." "Warmer lighting." Turning that into the full instruction is Claude's job.
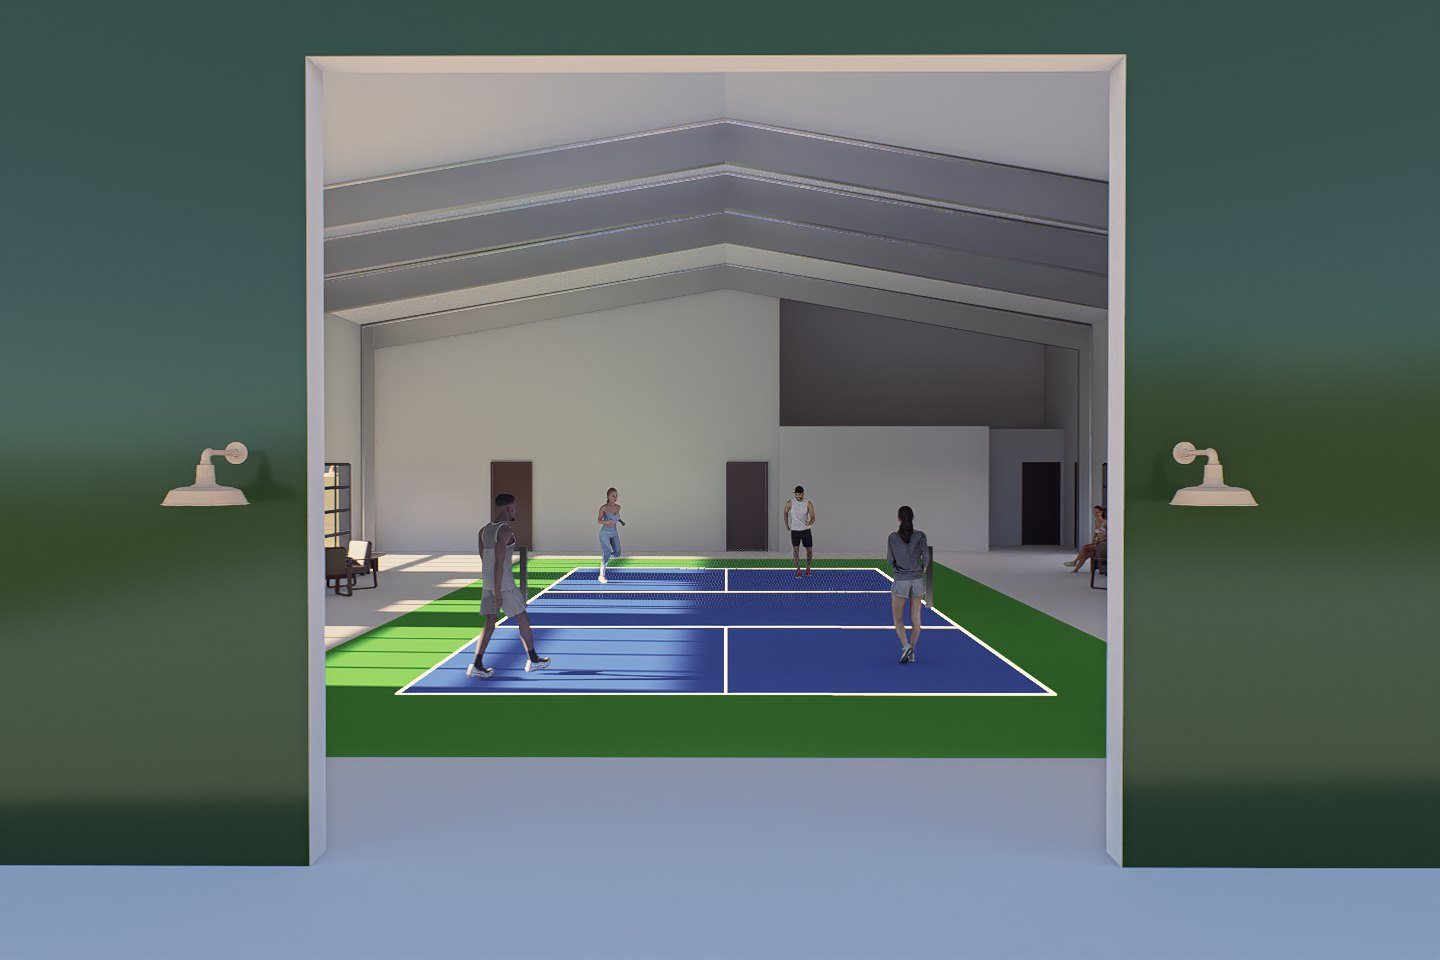
You get two files per frame: a markup PNG with the regions numbered and everything else dimmed, and one prompt keyed to those numbers. Attach both to your raw render and run it once. Below is the real pair for the frame at the top of this page.
pavilion-entry_MARKUP.png, exported at the render's exact pixel size.
"Coffee bar" gives you a cart. "Walnut floating shelf 8in deep, chrome espresso machine, six stacked stoneware mugs" gives you a coffee bar. Never write improve, enhance, or make it nicer.
A broad instruction read late overwrites a small one read early, so cladding and roof come before the player, and the lit sconce comes last of all.
"Stone top and walnut below, and put books on it" is a material change and a props change. They get separate numbers even when you drew one box. The numbering is what stops two changes fusing into one blended object.
Same model, same project: a bare "make this photorealistic" shortened the roofline and took the entry from three bays to two. A marked region plus this clause held the geometry. Prompt discipline buys that, not the choice of model.
Attach: the raw render + pavilion-entry_MARKUP.png The attached markup shows numbered regions. Change only those regions. 1. Region 1, the wall panel down the left edge (2-20% from left, full height) - dark green standing-seam metal cladding, matte, ribs at roughly 12in centres running vertically. Keep the wall plane, the opening and its shadow exactly where they are. 2. Region 2, the roof structure over the court (24-72% across, top 30%) - expose the framing as black painted steel beams with a warm white-painted wood deck between them. Do not change the roof pitch or the ridge position. 3. Region 4, the court surface - resurface as a navy blue playing area with a rust-red kitchen and a dark forest green apron. Crisp white lines, same court layout, same line positions. 4. Mark 5, the player in the left foreground - photoreal skin, resolved hair, real fabric weave on the shirt and shorts. Keep the exact pose, position, height and clothing colour. 5. Region 3, the gooseneck sconce on the right wall - switch it on. Warm 2700K pool of light on the cladding below it, bronze fixture. Do not add any other light source. Overall direction for this project: Private pickleball pavilion in Ferndale, California. Late afternoon, clear, early autumn. Reads as a working agricultural building, not a sports facility. Match this material palette across all images in this set: Facade/Cladding dark green standing-seam metal Ceiling/Soffit white-painted wood deck on black steel Paving navy court / rust kitchen / forest green apron Metal oil-rubbed bronze Preserve the architecture exactly. Do not move or resize the building massing, roofline, parapet, window or door openings, mullions, or the site grade. Do not change the camera angle, focal length, or perspective. Match the existing daylight - same direction, same colour temperature, same shadow angles. Photorealistic architectural photography. No stylisation, no watermark, no text. Standing rules: all people photoreal but same pose. Nothing moves or resizes. Change only what the numbered items describe. Every unmarked part of the frame stays as close to unchanged as possible. Save result as: pavilion-entry_redlined.jpg
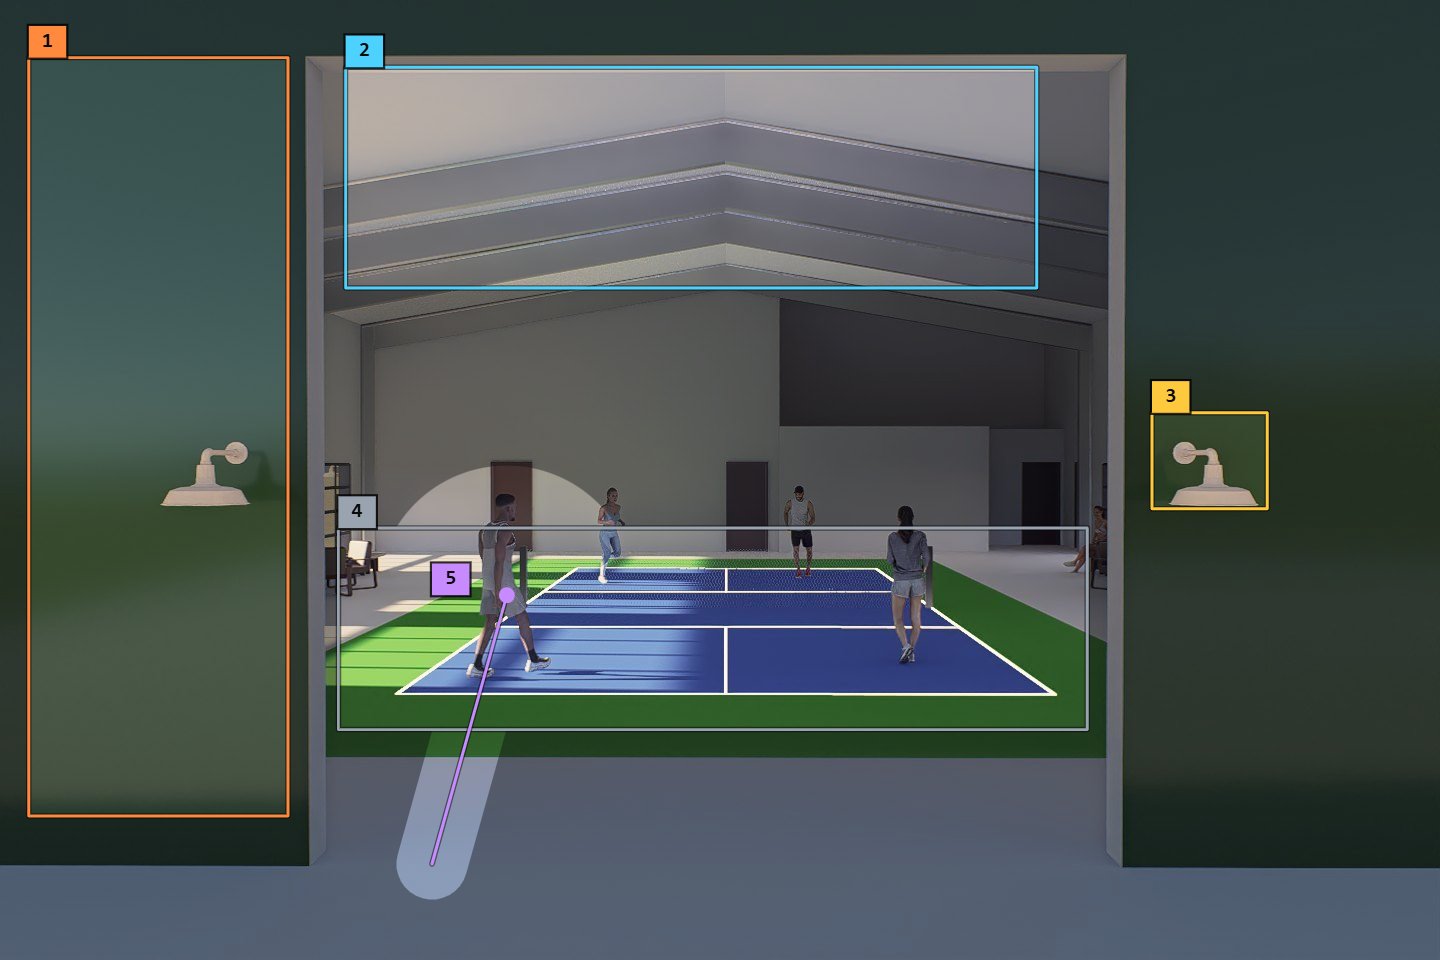
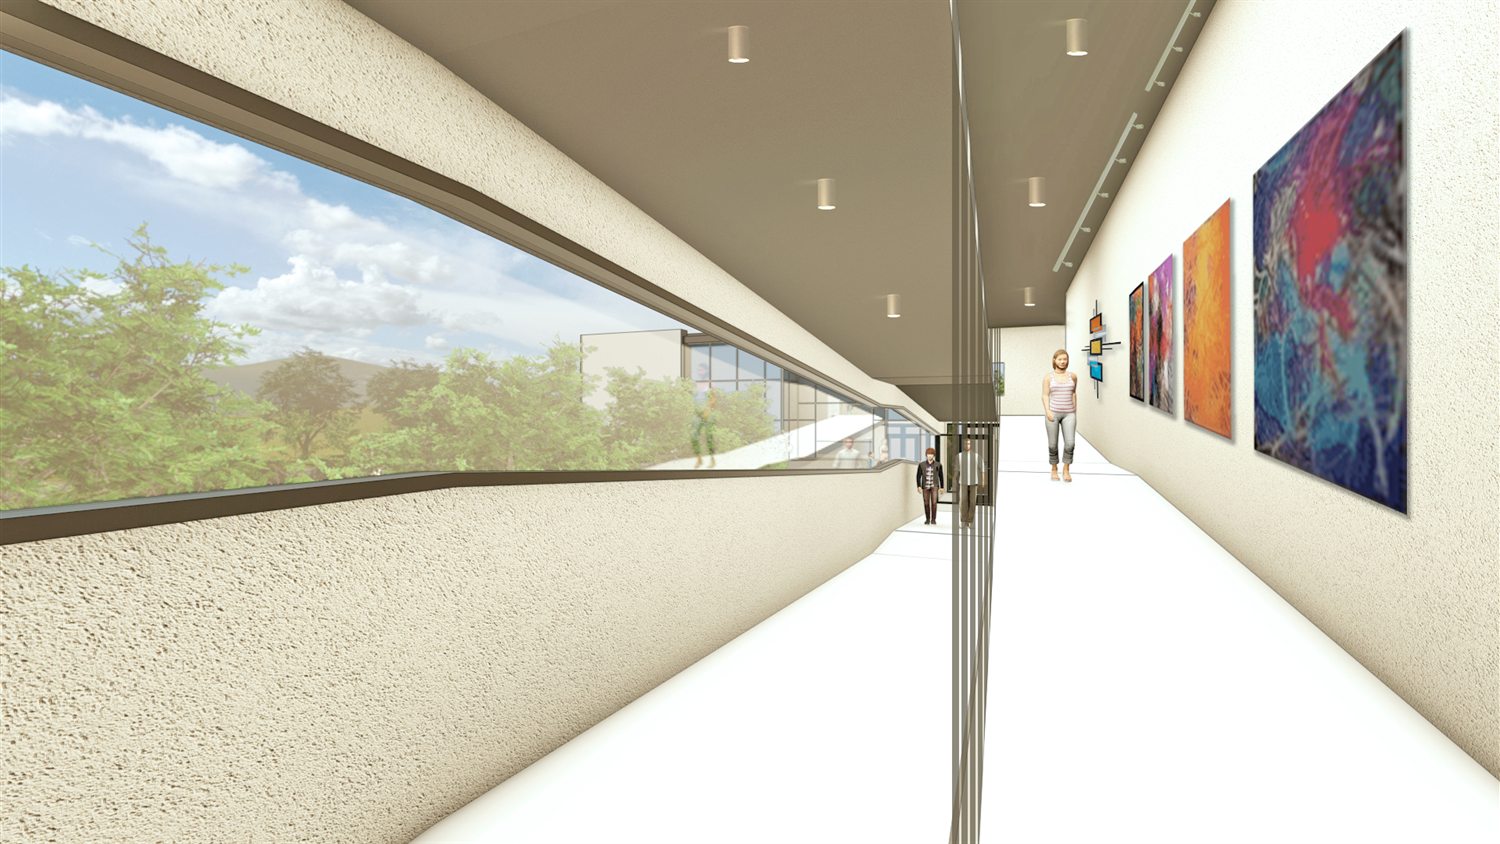
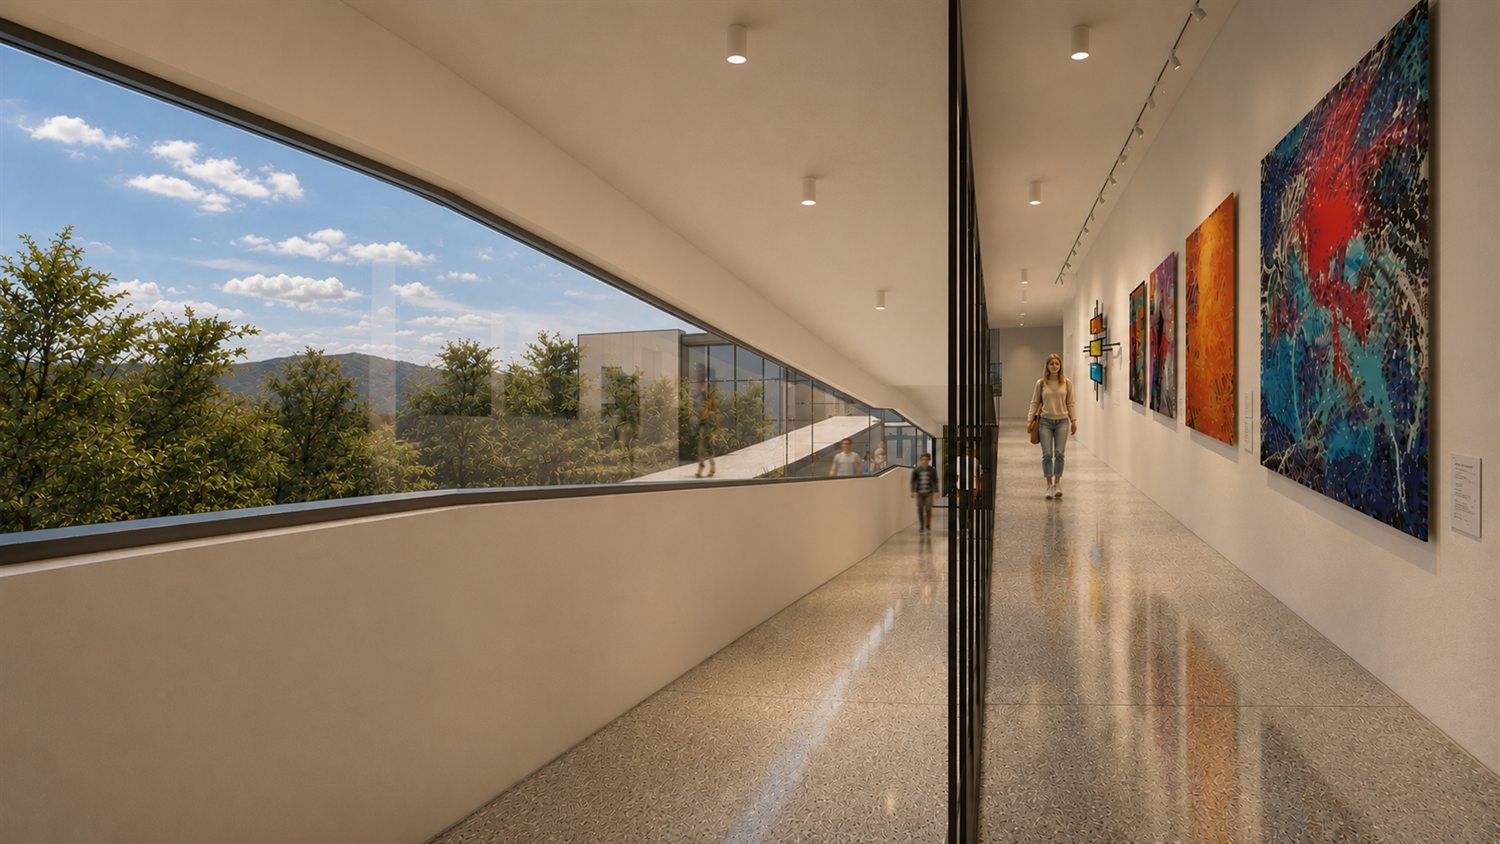
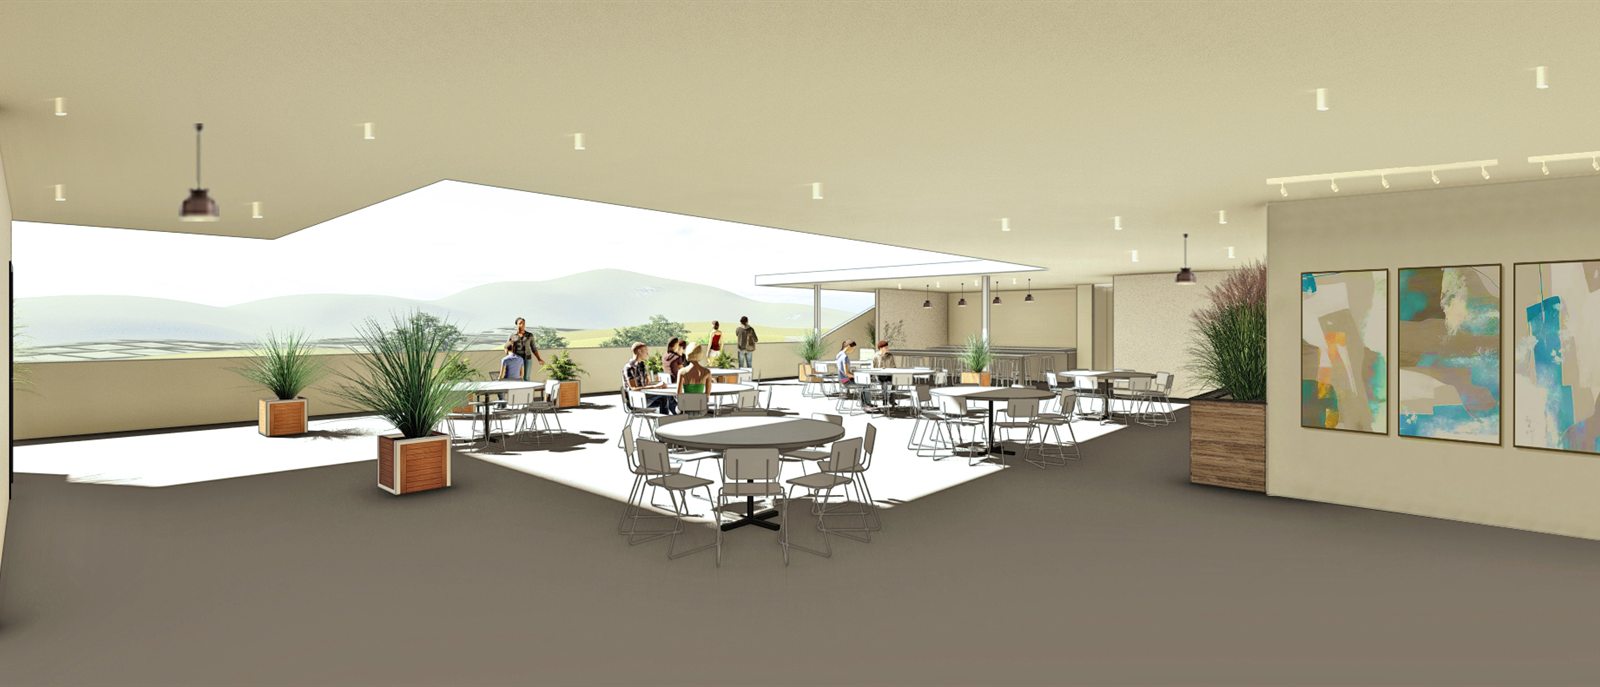
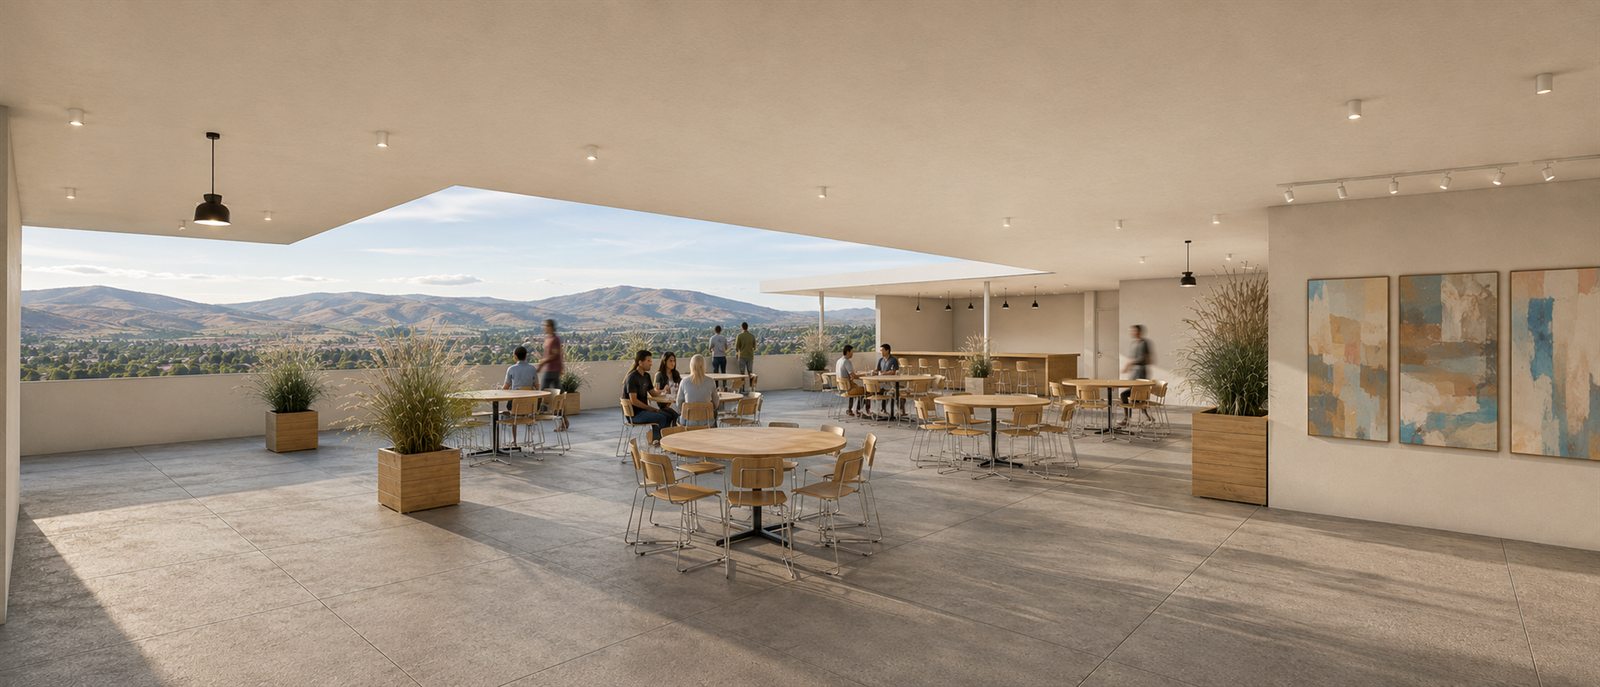
Frames from the Schneider Museum of Art, done with Arkitek. Same camera, same openings, same people in the same poses. Materials, lighting and landscape are the only things that moved.
Grey modelRedlined
The ribbon window is the tell. Same mullions, same sill line, real landscape behind it.
Grey modelRedlined
Paving, furniture, planting and sky all change. The model also nudged the framing a few percent, which is why the soffit line steps very slightly at the seam. Check the aspect and the framing that come back before you build a board around them.
The annotator works on its own if you just want to mark up images. The full skill is what writes the prompts.
SKILL.md plus the annotator. Unzip it into your skills folder, restart Claude, and say "redline this render" with your images attached.
# macOS and Linux unzip redline-skill.zip -d ~/.claude/skills/ # Windows (PowerShell) Expand-Archive redline-skill.zip -DestinationPath $HOME\.claude\skills\Download the skill
14 KB zip. Needs Claude Code or any Claude client that reads skills.
One self-contained HTML file. No dependencies, no network calls. Open it from your browser now, or save it and open it offline whenever.
Open the annotatorWorks in any modern browser. Save the page to keep a local copy.